Introduction
A personal portfolio is the most efficient way to showcase your work. Recently I have created my portfolio and deployed it on the web. After making my website live I received fantastic responses and feedback.
In this blog, I will show you how to create a personal portfolio and deploy it on the web. Check out my portfolio → 👨💼 ashishjaiswar.com
Need for Portfolio
If you are a Software Developer, Tester, or business professional you must have a personal portfolio.
Your personal portfolio is a compilation of relevant work samples and documents gathered during your school years and presented in a structured manner. It profiles your goals, progress, achievements, and competencies in an organized, accessible, and purposeful format, without overwhelming prospective employers.
Tech Stack
Are you confused about which tech stack to use? If you are a beginner in programming, I suggest you use HTML and CSS. For my portfolio, I have used some advanced frameworks.
Initialization
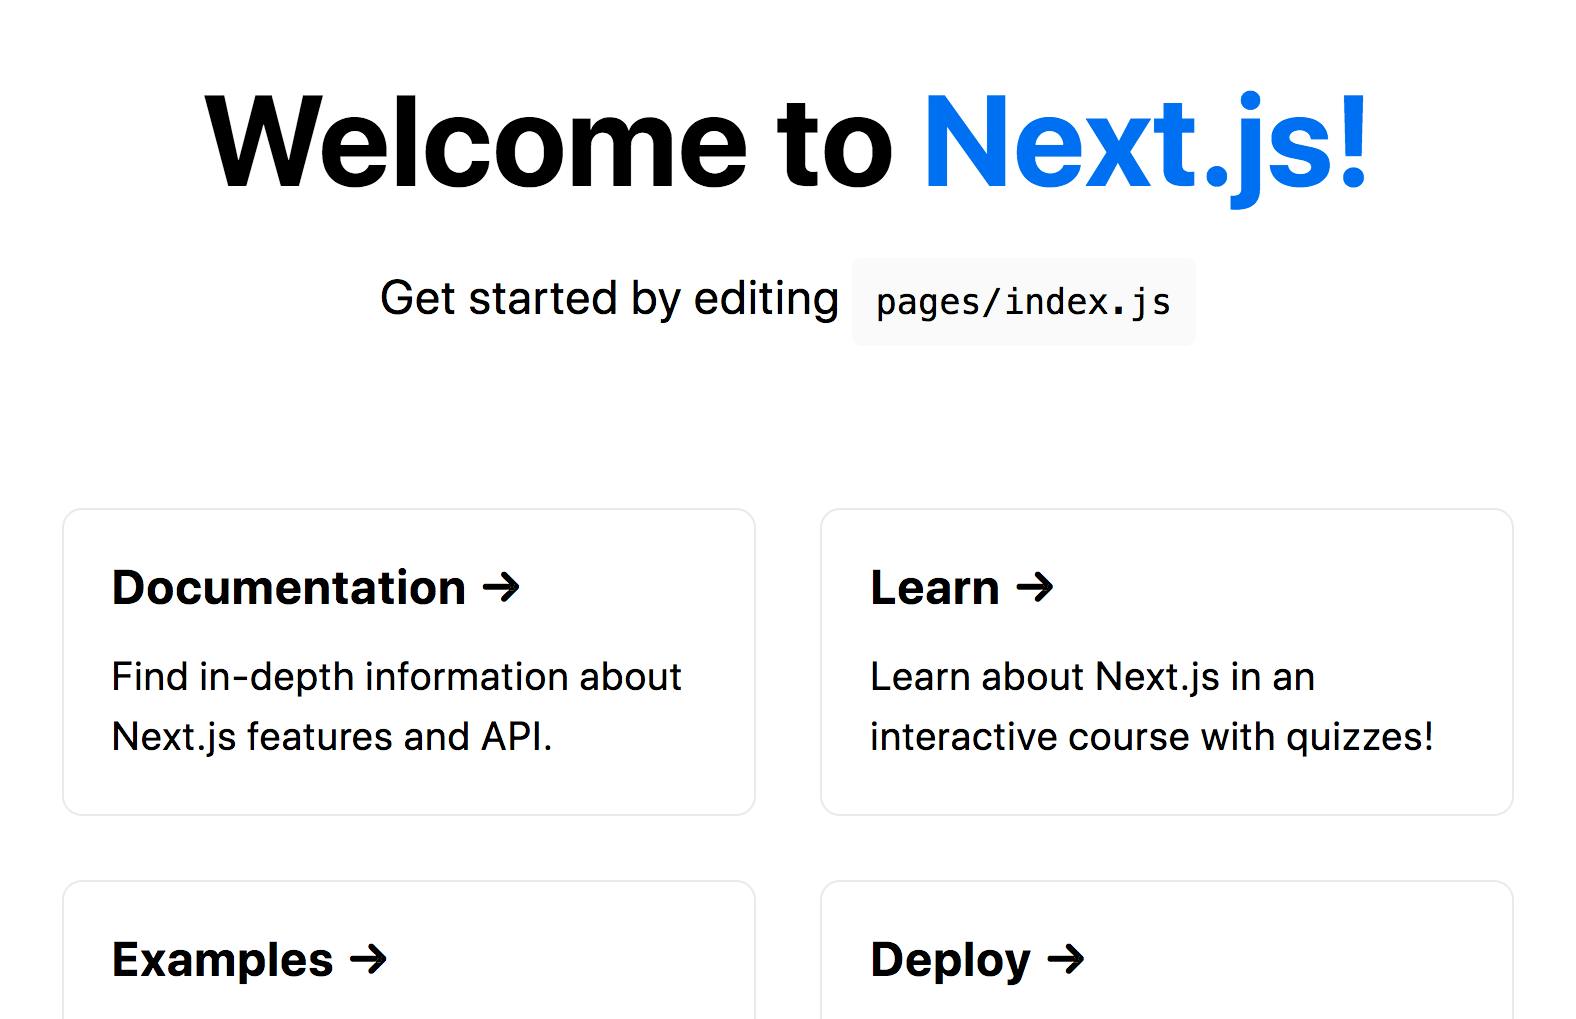
Create Next App
- Creating a Next.js app is very easy just execute the below command
npm create-next-app portfolio
Note: Node.js must be installed
Initiate a Git Repository
- Once the project is created open your terminal and move to the portfolio folder and run the command
git init
Install Packages
- Run the below commands to install packages. It will take some time till then have a cup of coffee 🍵
npm i -D cirrus-ui animate.css dotenv graphql-request
Run App
- Run the below command to start your development server
npm run dev
Configuration
If you are going to use images in your next project then add the below code in your next.config.js
/** @type {import('next').NextConfig} */
const nextConfig = {
  reactStrictMode: true,
  swcMinify: true,
  images: {
    domains: ["media.graphassets.com"], // add image server domain name into domain list
  },
};

module.exports = nextConfig;
Components
To be able to create multiple sections for the same page, its easier and more clean to split each components into a separate JavaScript page.
I have created the following components for my portfolio
- Nav
- Hero
- Featured Blogs
- Contact
- Project Cards
- Blog Cards
- Footer
Pages
Routing is very easy in Next.js app. You just have to create a js file in the pages folder. It will act as a routing page.
_document.js
Next.js provides built-in components _document.js is one of them you can use this component to structure your project and pages. You can define your Meta tags here which is accessible to all other pages.
<Html>
      <Head>
        <meta charSet="UTF-8" />
        <meta httpEquiv="X-UA-Compatible" content="IE=edge" />
        <meta name="viewport" content="width=device-width, initial-scale=1.0" />
        <link rel="icon" href="favicon-ashish-jaiswar.png" />
        {/* fonts  */}
        <link rel="preconnect" href="https://fonts.googleapis.com" />
        <link
          rel="preconnect"
          href="https://fonts.gstatic.com"
          crossOrigin="true"
        />
        <link
          href="https://fonts.googleapis.com/css2?family=Inter:wght@400;500;600&display=swap"
          rel="stylesheet"
        />
        <link rel="preconnect" href="https://fonts.googleapis.com" />
        <link
          rel="preconnect"
          href="https://fonts.gstatic.com"
          crossOrigin="true"
        />
        <link
          href="https://fonts.googleapis.com/css2?family=Inter:wght@400;500;600&family=Open+Sans:wght@400;500&display=swap"
          rel="stylesheet"
        />
      </Head>
      <body>
        <Main />
        <NextScript />
      </body>
    </Html>
index.js
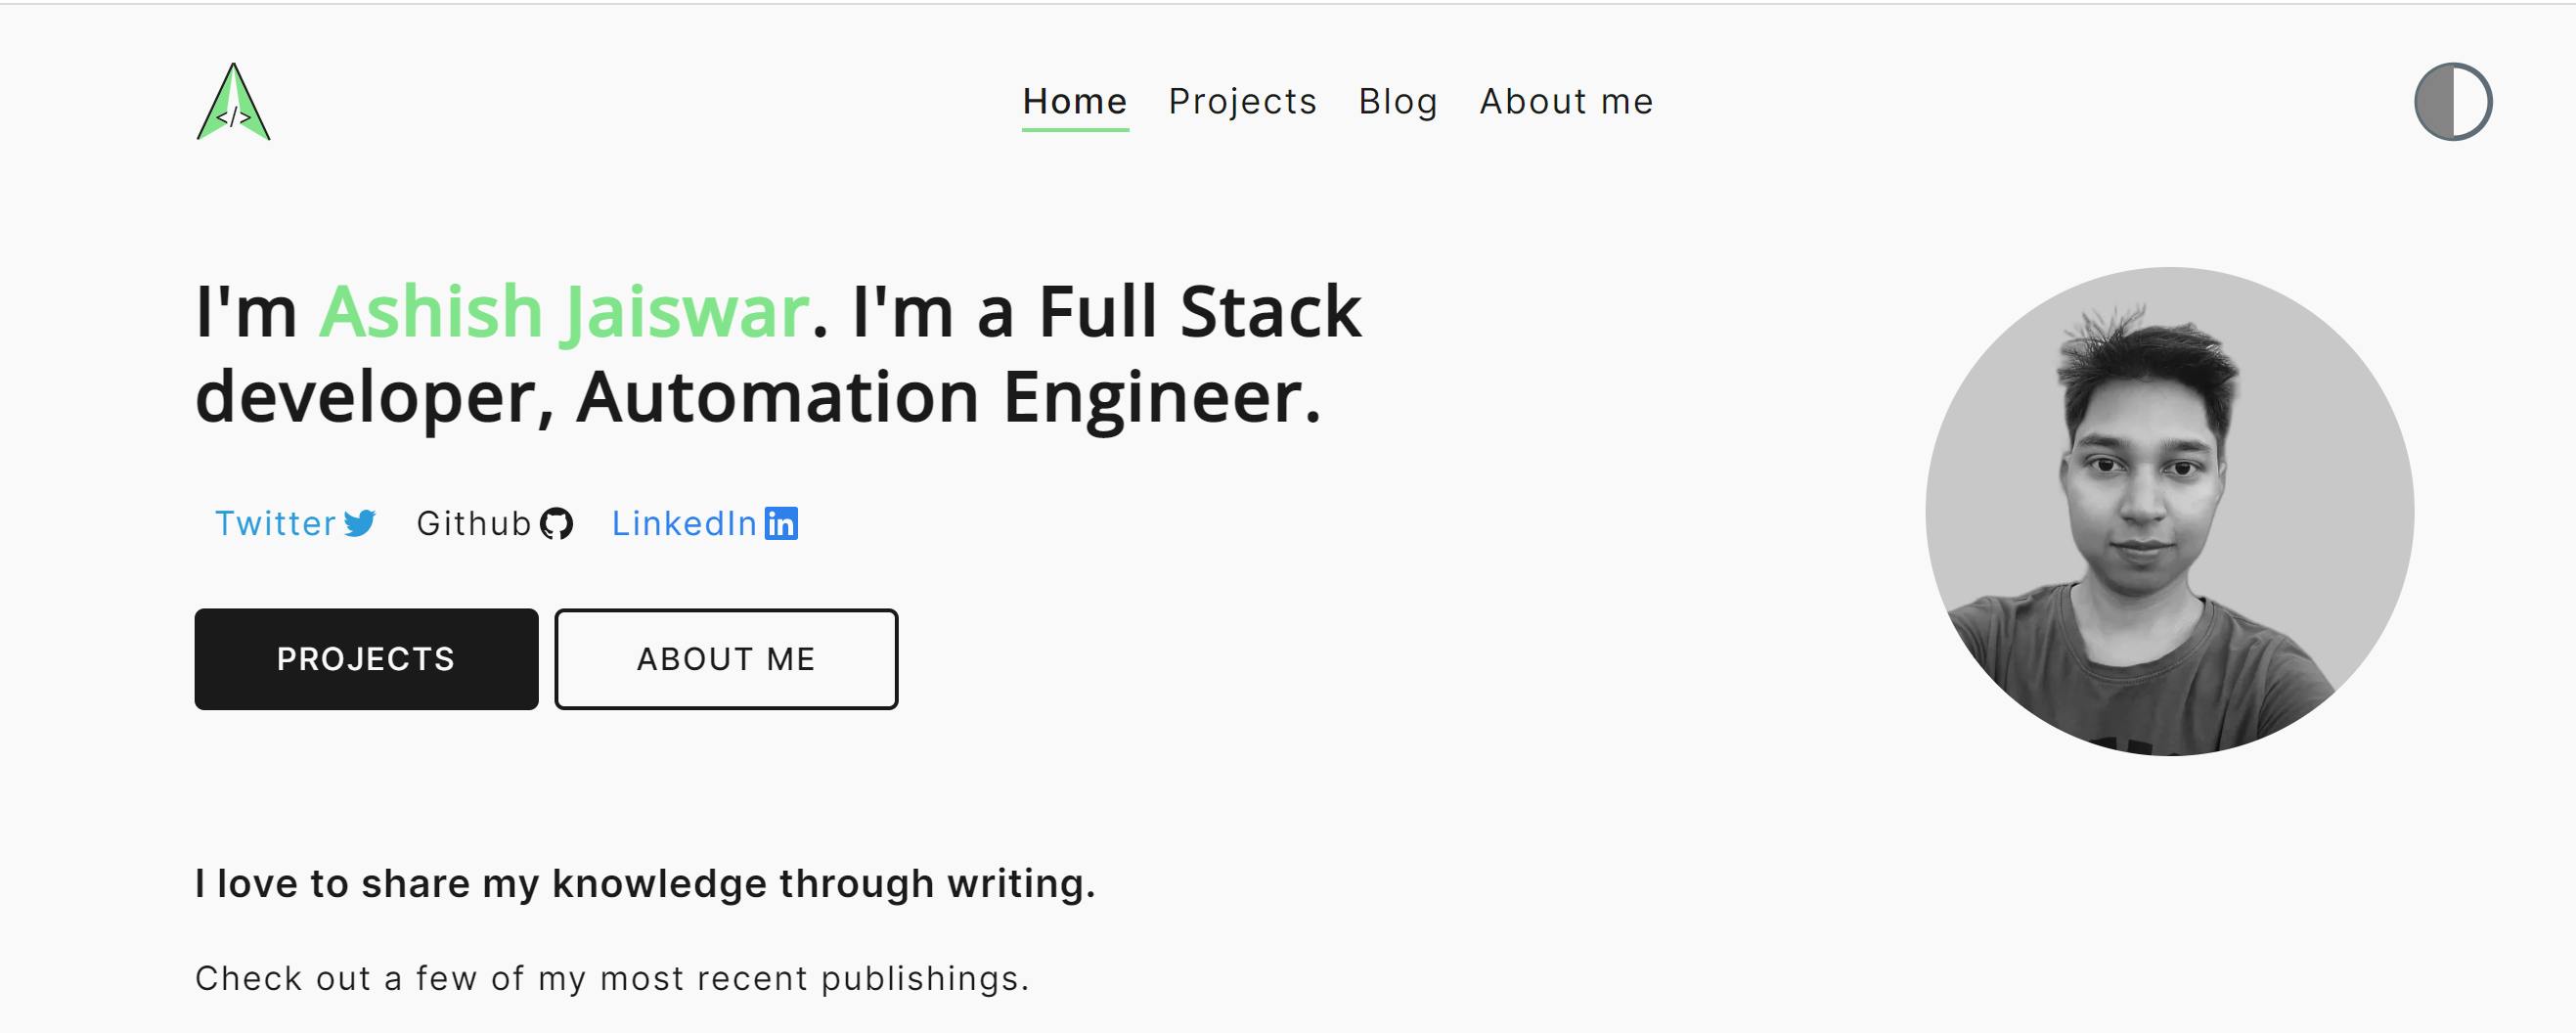
Index.js is the starting page of every web app. Whenever user visits your app using URL it lands on the index page.
<Navbar />
<Hero />
<FeatureBlog blogs={blogs} />
<Contact />
<Footer />
project.js
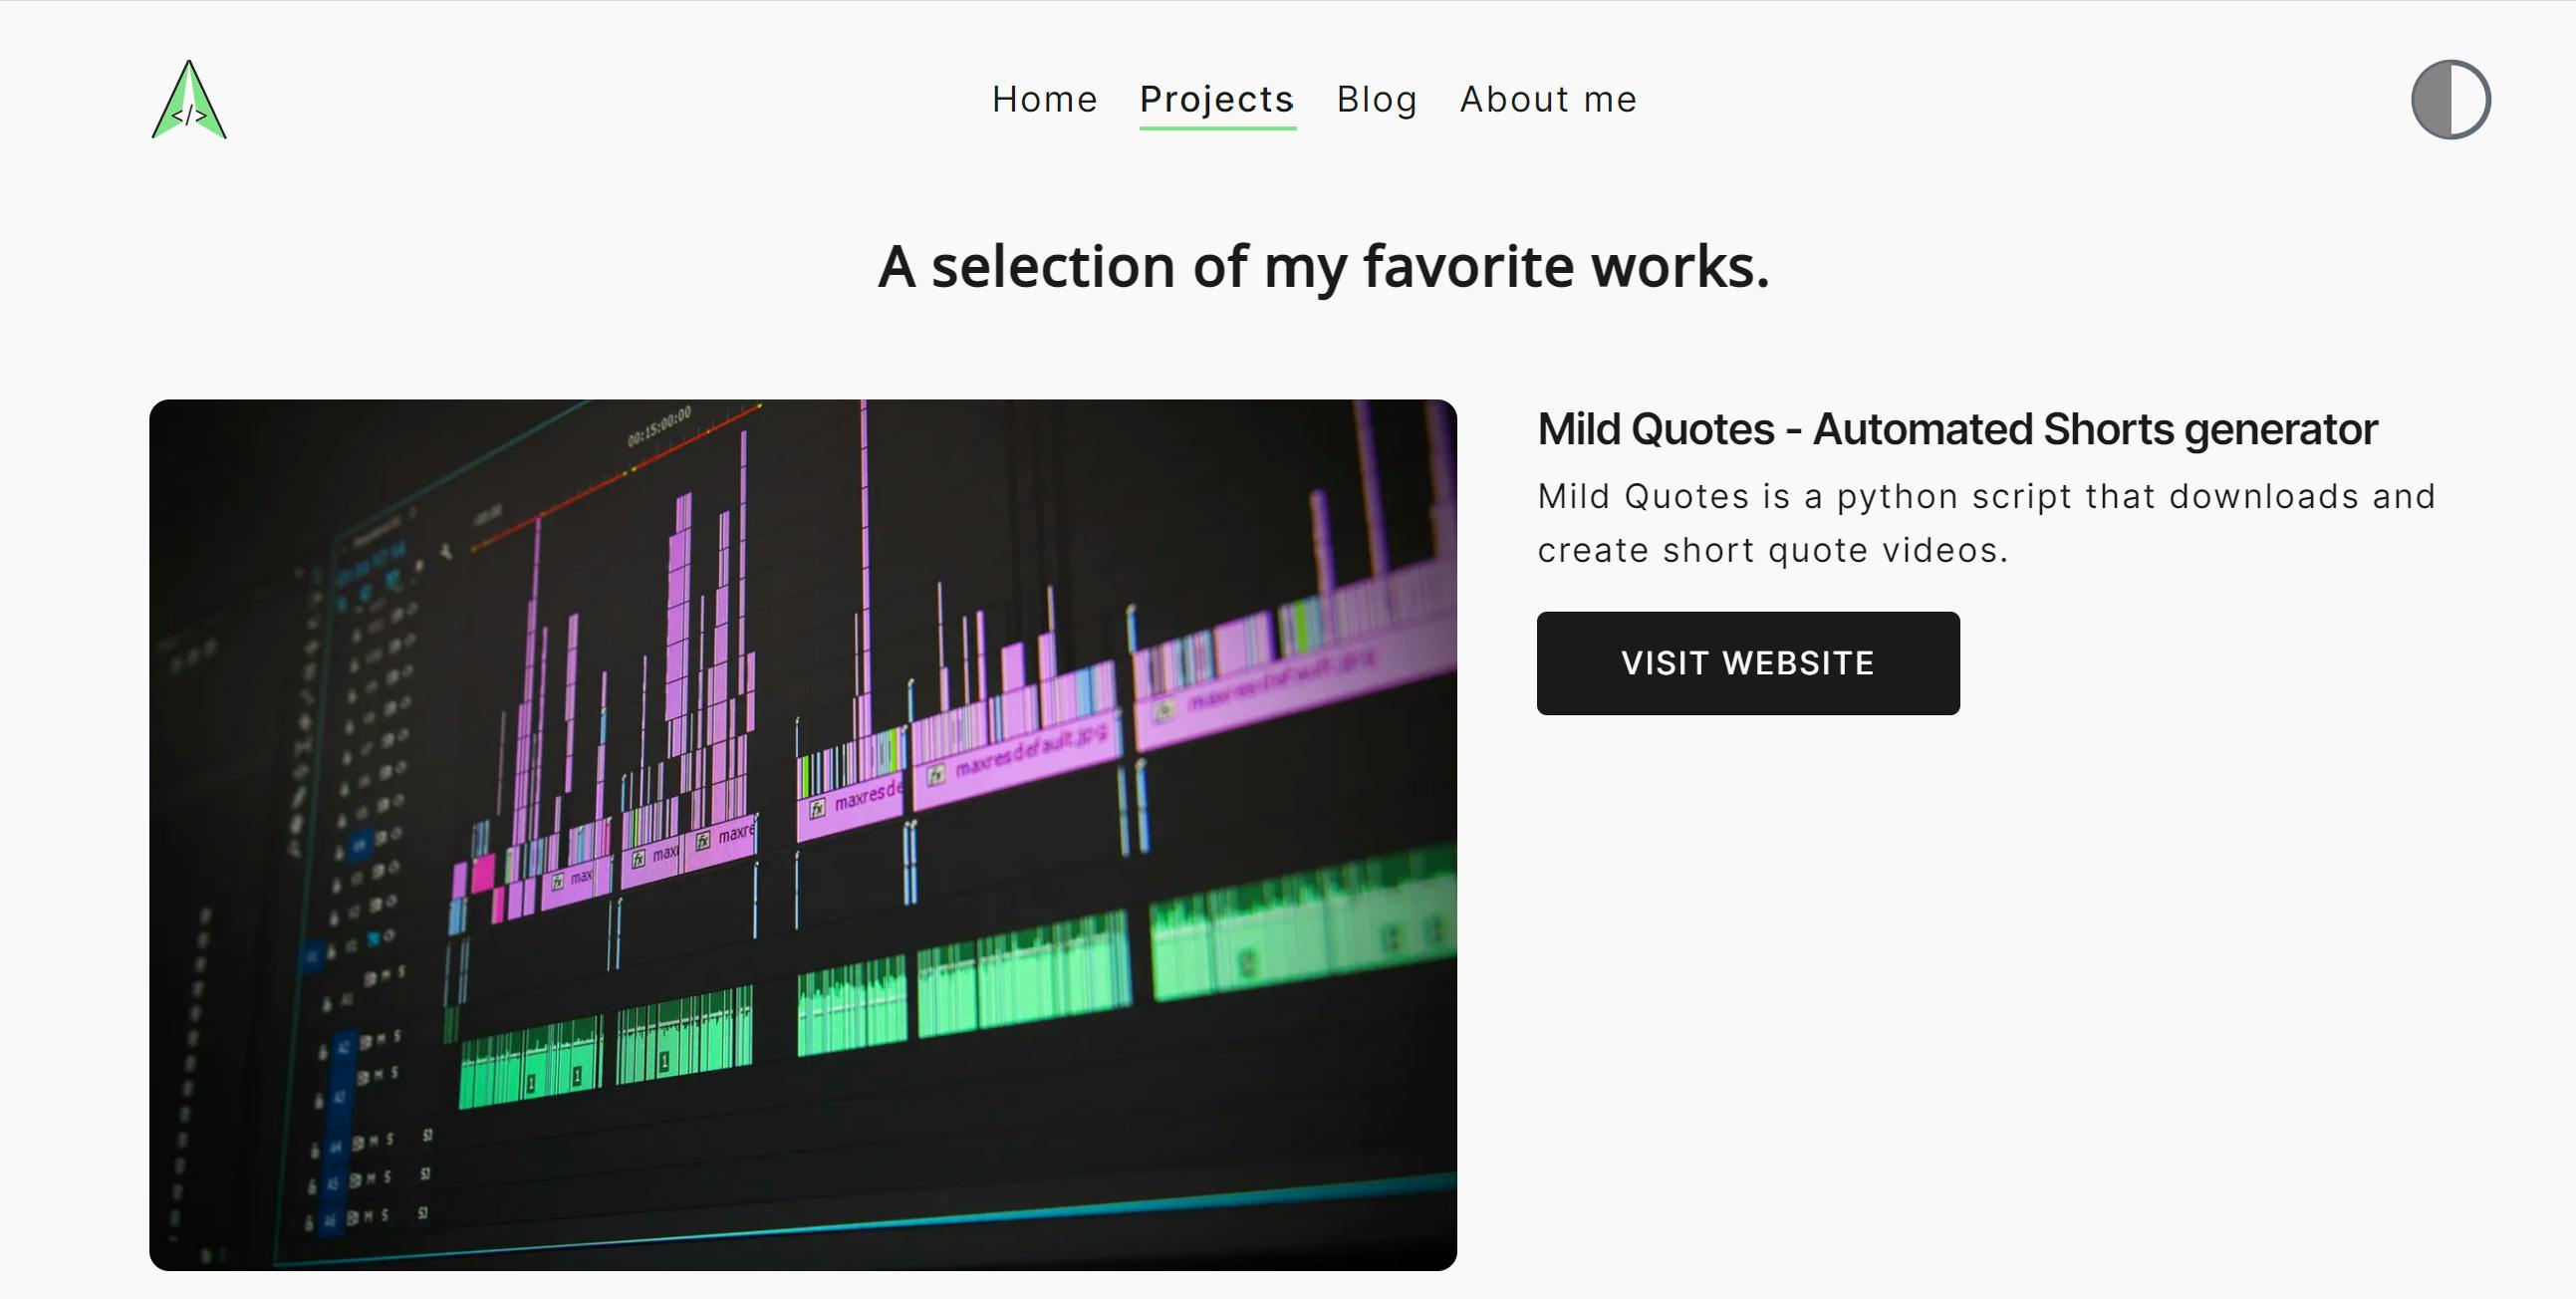
Projects can be a great way to showcase your skills to your future employer. I have displayed all my projects on this page.
<Navbar />
      <div className="mt-2 animate__animated animate__fadeInUp">
        <h3 className={style.project__heading}>
          A selection of my favorite works.
        </h3>
        {projects.map((project, index) => (
          <ProjectCard
            key={index}
            title={project.title}
            description={project.description}
            image={project.image}
            link={project.link}
          />
        ))}
      </div>
      <Footer />
blog.js
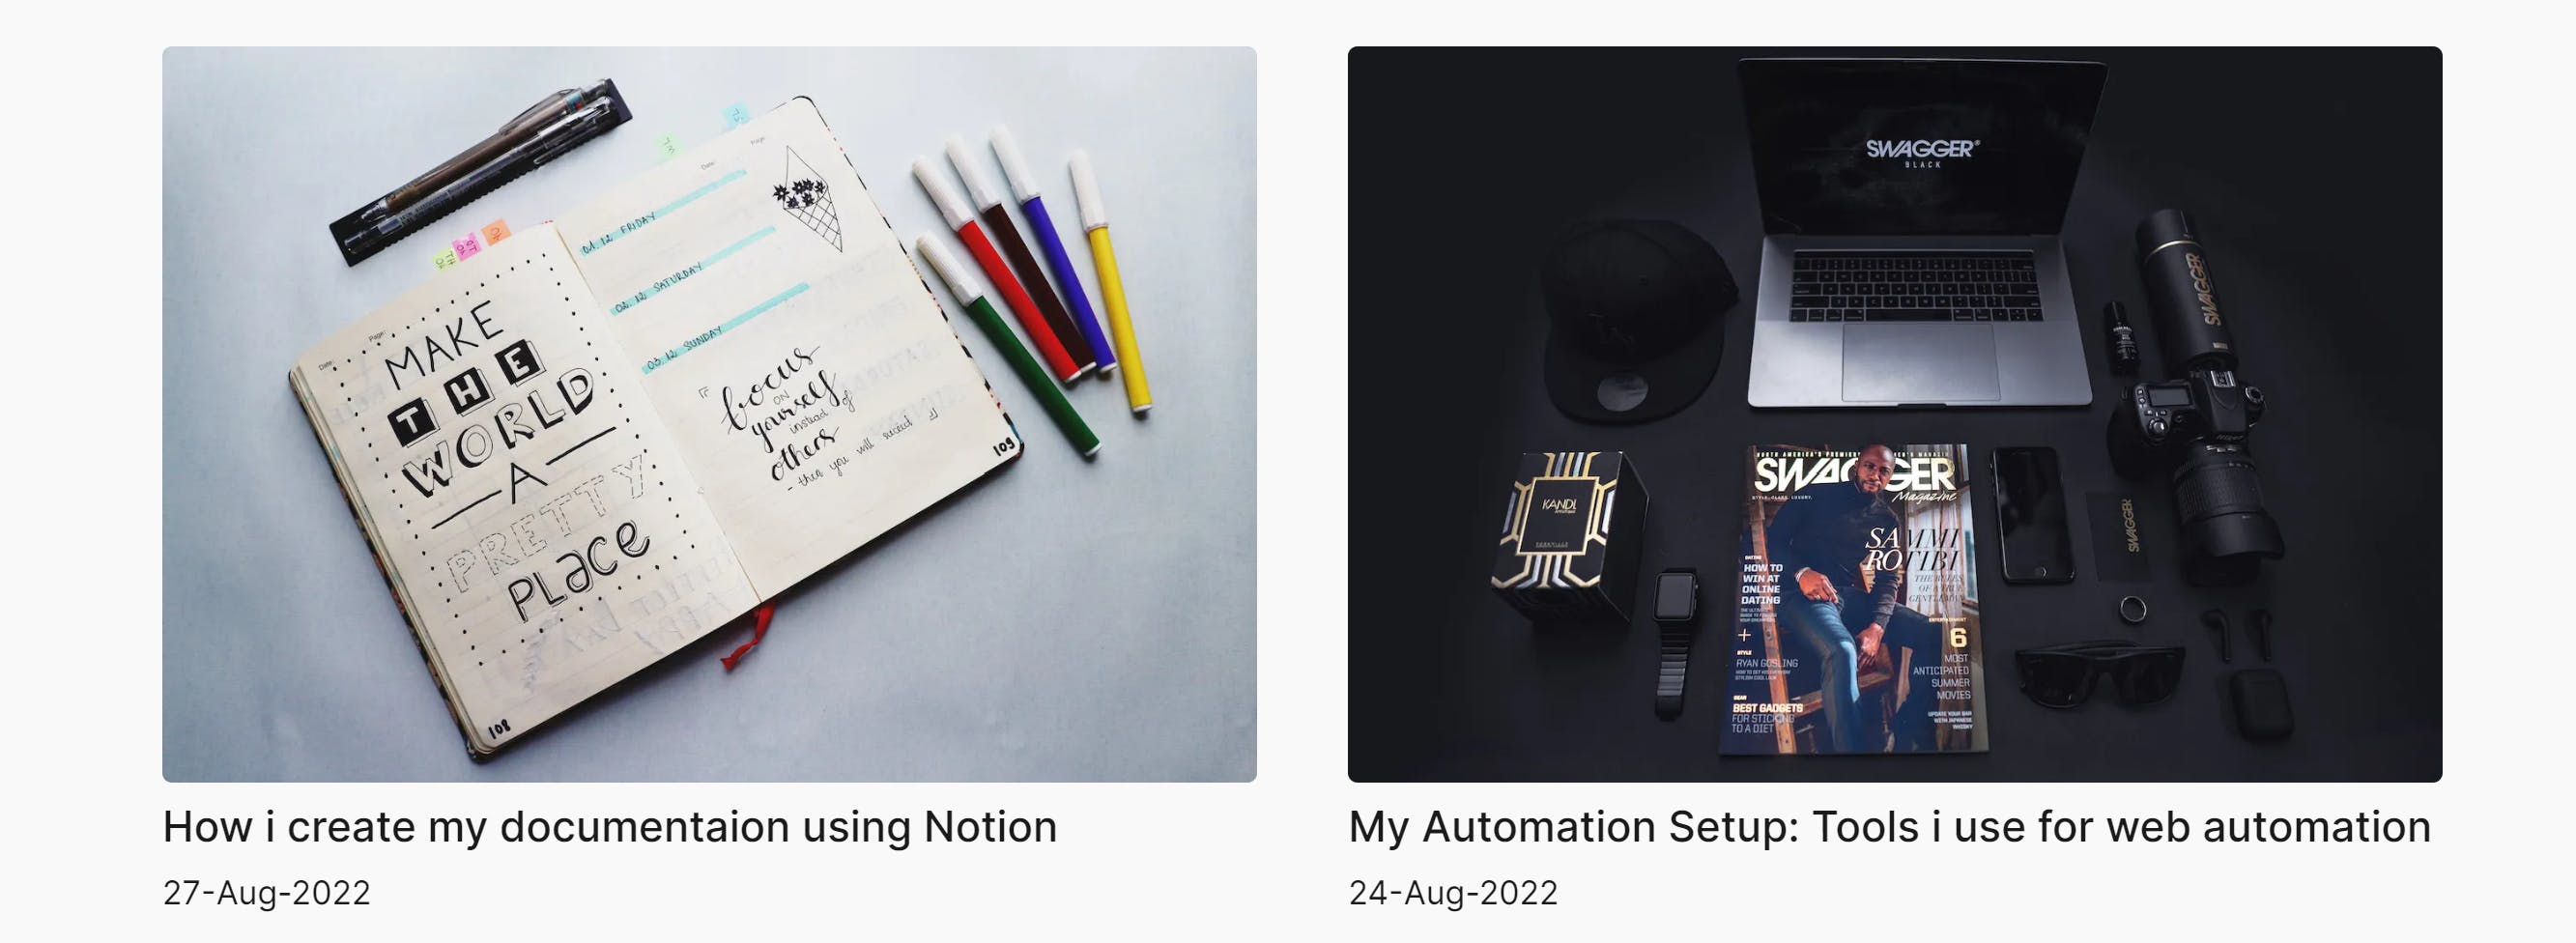
Publish your passions your way. Whether you'd like to share your knowledge, experiences or the latest news, create a unique and beautiful blog.
<Navbar />
      <div className="mt-2 animate__animated animate__fadeInUp">
        <h3 className={style.blogs__heading}>
          Insightful and helpful content curated for you.
        </h3>
        <div className={style.blogs}>
          {blogs.map((blog, index) => (
            <BlogCard
              key={index}
              title={blog.title}
              image={blog.image}
              link={blog.link}
              createdAt={blog.createdAt}
            />
          ))}
          <Link href="https://ashishjaiswar.hashnode.dev">
            <a className={`button button-outline ${style.all_article}`}>
              See All Articles
            </a>
          </Link>
        </div>
      </div>
      <Footer />
me.js
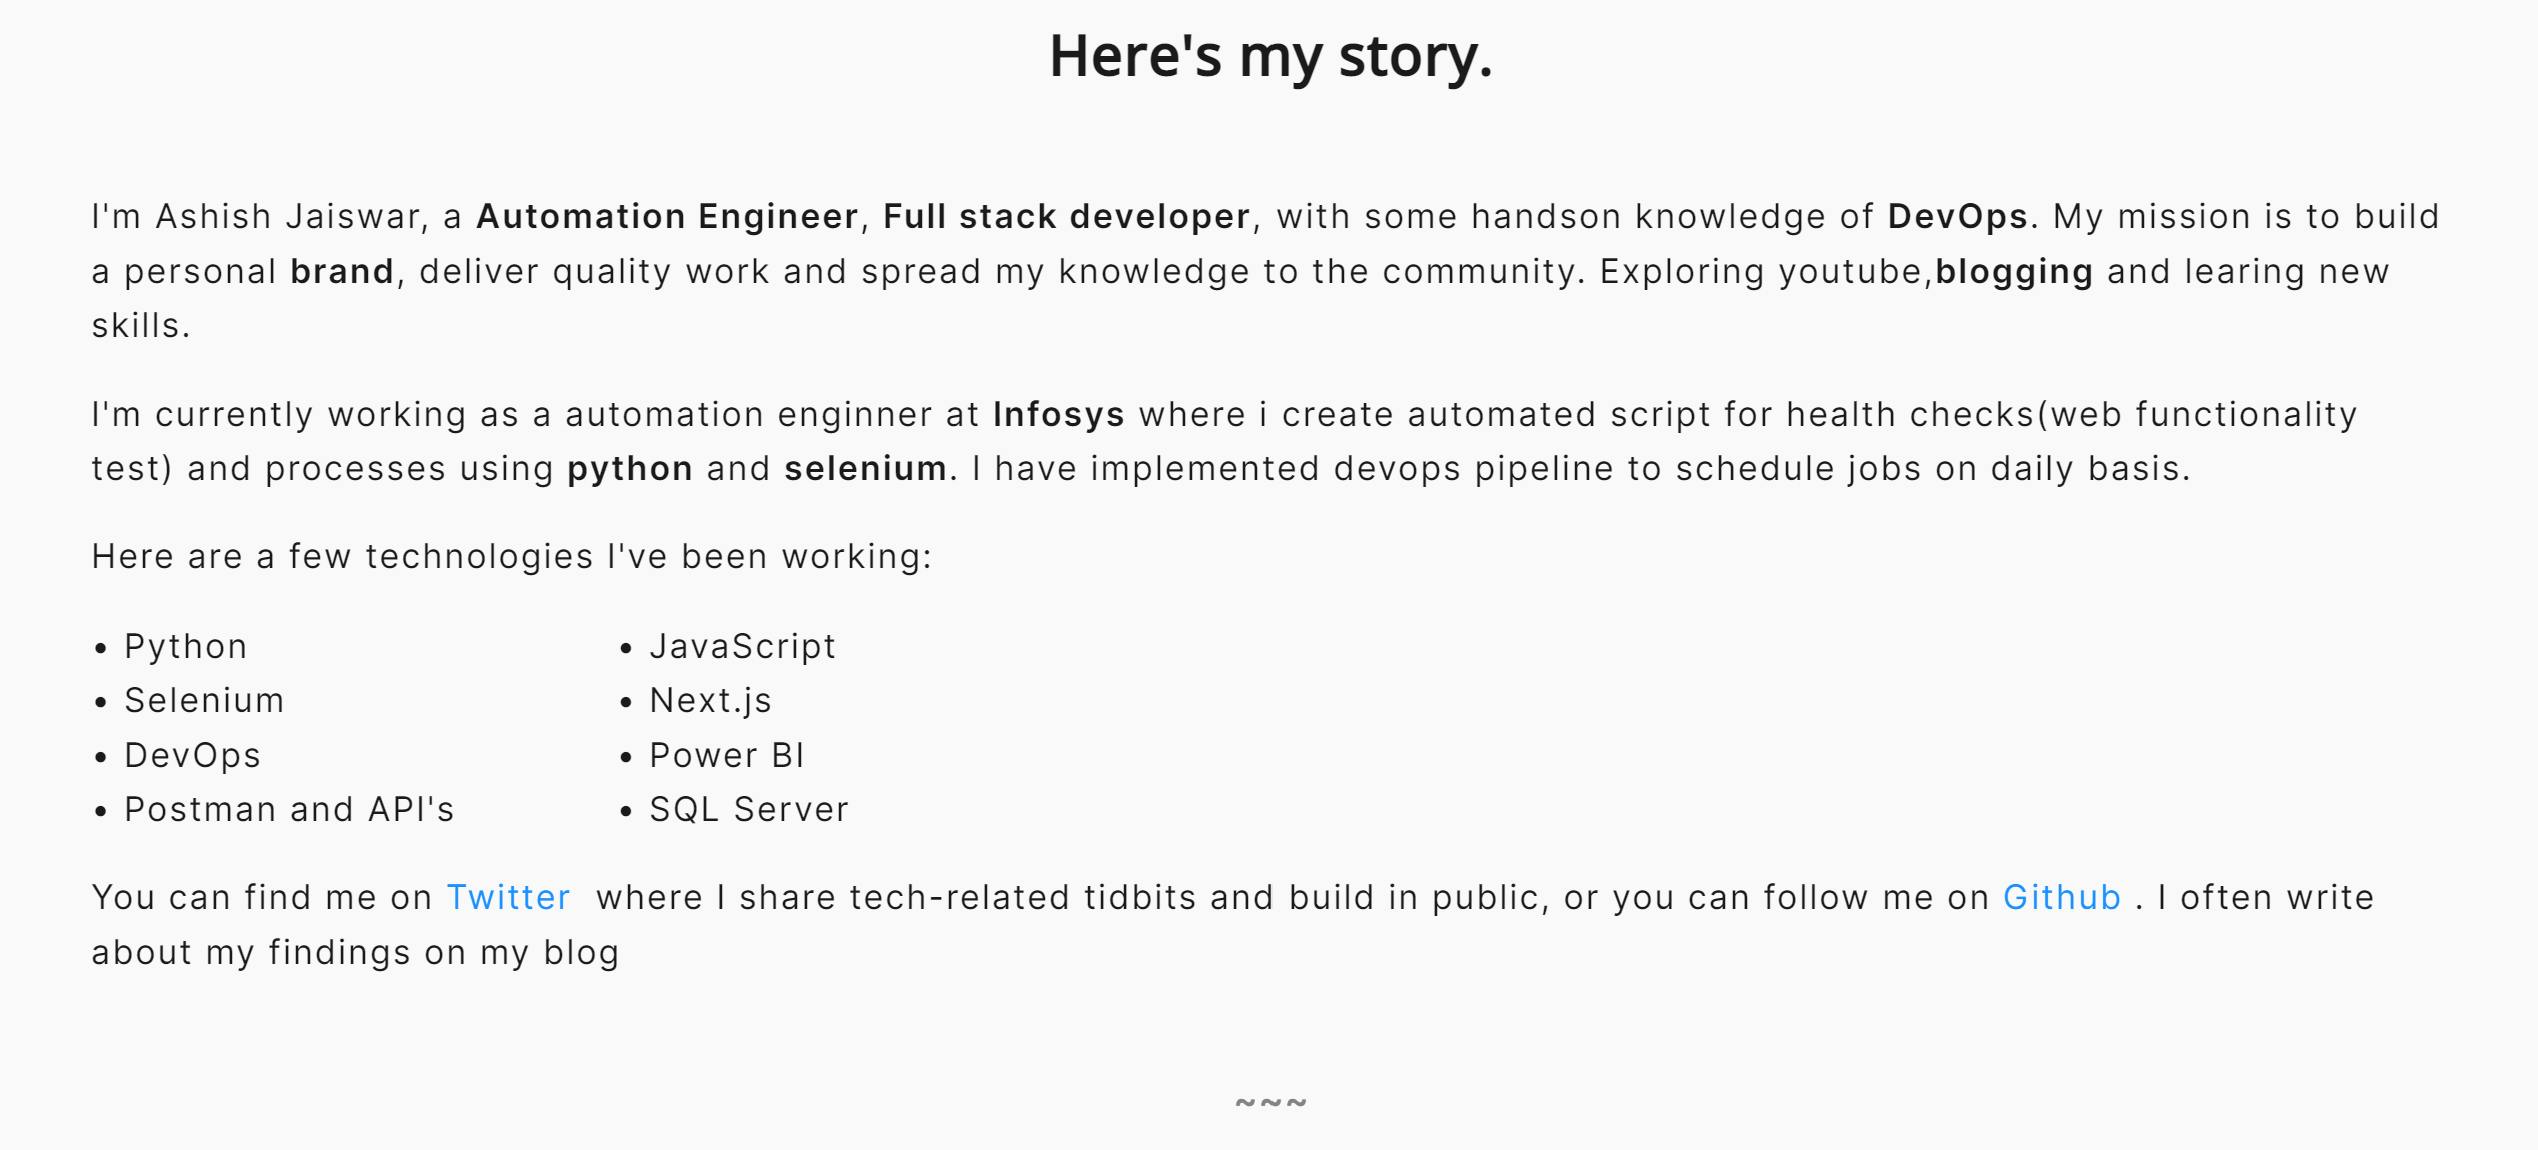
An "About Me" page is one of the most important parts of your portfolio, website, or blog.
</Head>
      <Navbar />
      <About />
      <h5 className="line-break">~~~</h5>
      <FeatureBlog blogs={blogs} />
      <Footer />
Deployment
Once your coding is done commit your changes and push the code to GitHub.
git commit -m "Your message"
git push -u origin <branch name>
Deploy on Vercel
The easiest way to deploy your Next.js app is to use the Vercel Platform
- Connect your Vercel to GitHub
- Import your repository
- Deploy !
Next.js deployment documentation
Demo
GitHub Project Link
If you are interested in code then checkout the project link → Source Code
Ending
I really enjoyed working on my portfolio. I hope it might help you as well.
If you have any query/suggetions/feedback please connect with me on twitter or ask me in the comment section.
Like and Follow 😊
Meet you on the next blog. Enjoy Coding ❤
